In Avowed, the final totem in the last area of the game requires gathering all the Fragments of the Spoils. We can start by collecting these fragments and adding them to our journal by visiting Solace Keep, the main city hub. Quartermaster Yaru sells the necessary document, though it may already be in your journal if you previously purchased it without realizing it. Afterward, you can venture forward to gather all the Galawain Totem Fragments by taking a look at their location in Avowed. Also, check out our Avowed beginners guide.
Avowed: Galawain’s Tusk Totem Base (Huntmaster’s Spoils)
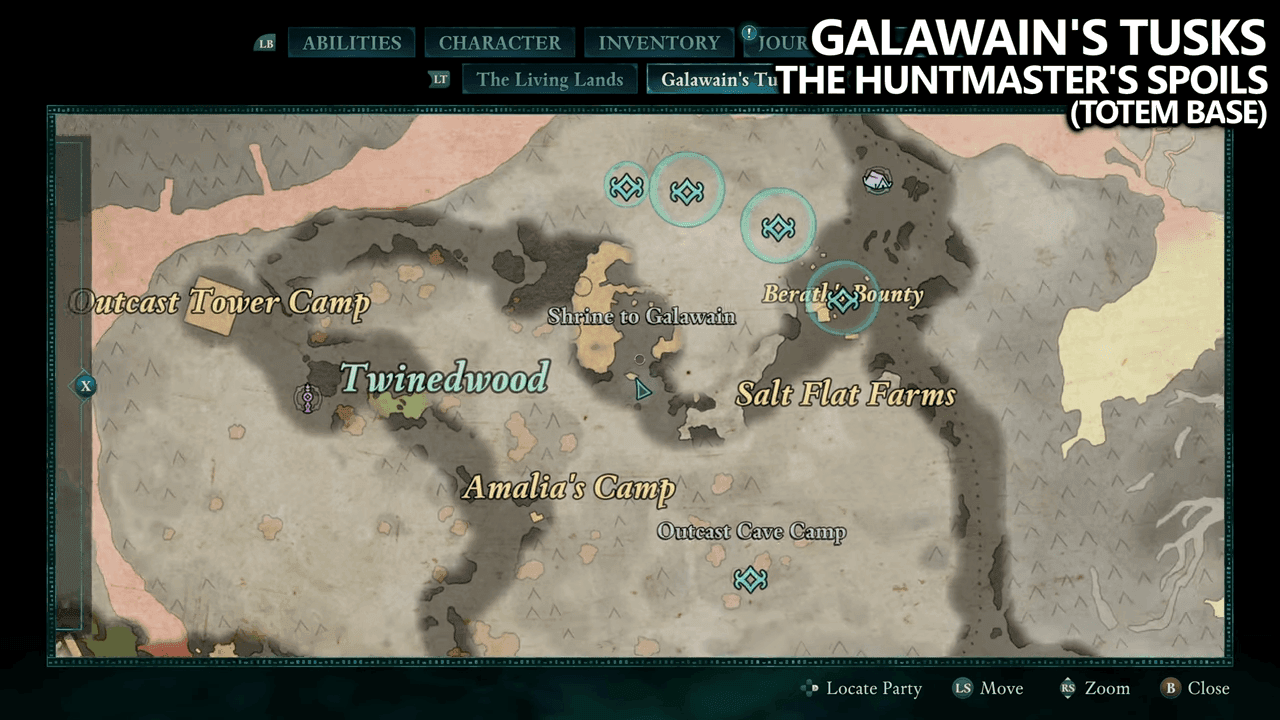
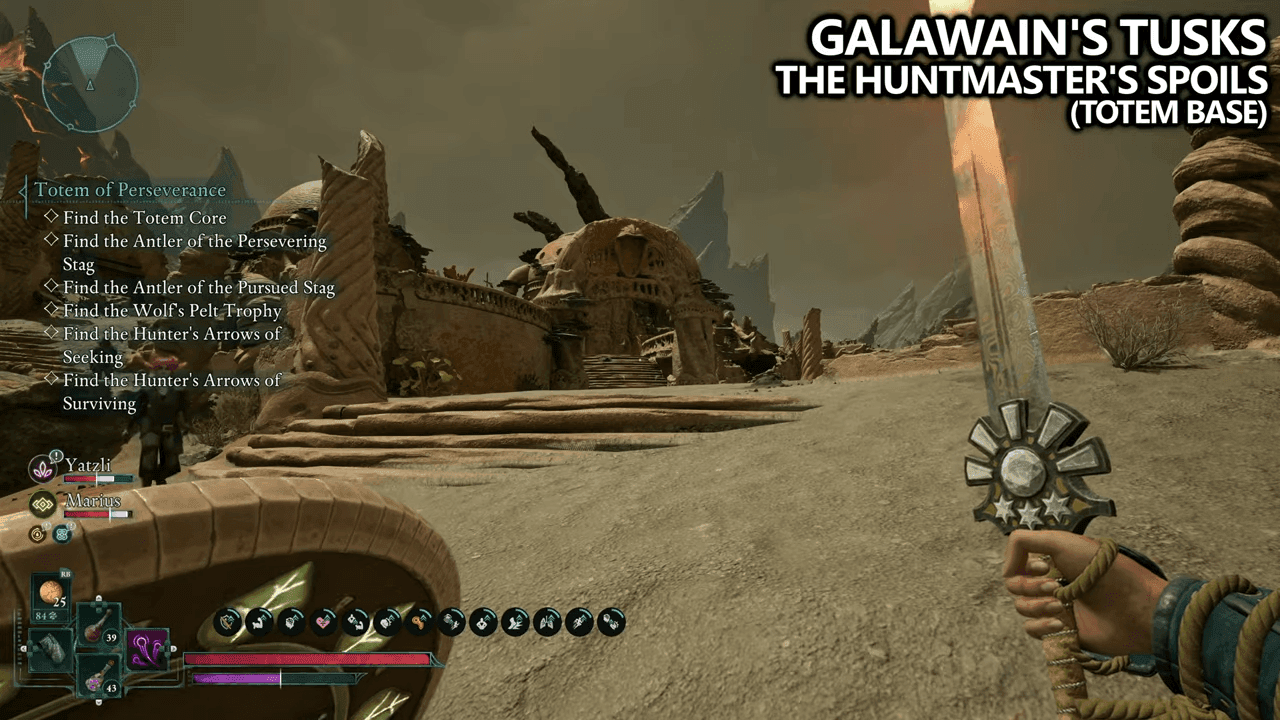
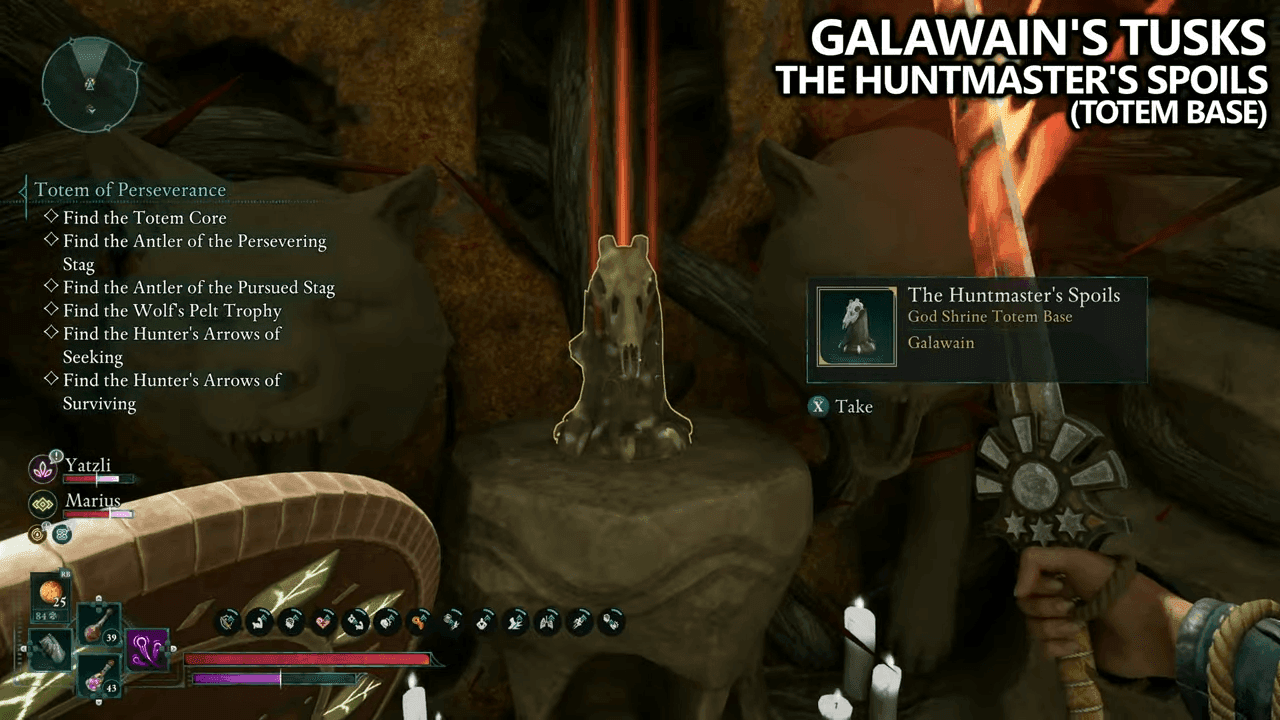
The totem base, also called the Huntmaster’s Spoils, is located in one of the early areas of the game at The Shrine. The exact location is shown on the map. This area also features a bounty for a mini-boss—one of the toughest in the game. After defeating the boss, you can collect the totem base and begin gathering the fragments.
Avowed: Galawain’s Tusk Totem Fragment Locations
Here’s a summarized list of all the Galawain’s Tusk Totem Fragment Locations in Avowed:
| Fragment of The Spoils God Shrine Totem Fragments | Galawain’s Tusk Totem Fragment Locations | Description |
| Huntmaster’s Spoils (Totem Base) | The Shrine | Exact location shown on the map within The Shrine area |
| Antler of the Persevering Stag | Garden Area | Underneath the bridge to the garden, drop down before crossing |
| Hunter’s Arrows of Slaying | Slumbering Fields | Overgrown Tower, take left path at fork in the road |
| Antler of the Pursued Stag | Top-Right Map Corner | Cave System Cache, approach from the back after cave exit |
| Hunter’s Arrow of Surviving | Top-Right Map Corner | Lava Cliff Tower, follow cliff edge from cave exit, Lost Village Overlook |
| Wolf’s Pelt Trophy | Ash Forest Outpost | Rooftop of leftmost building (scale cliffs), drop into building |
| Hunter’s Arrows of Seeking | Mount Forja (Mines) | Cliff path on the right after main story battle in the mines |
Antler of the Persevering Stag Totem Fragment Location
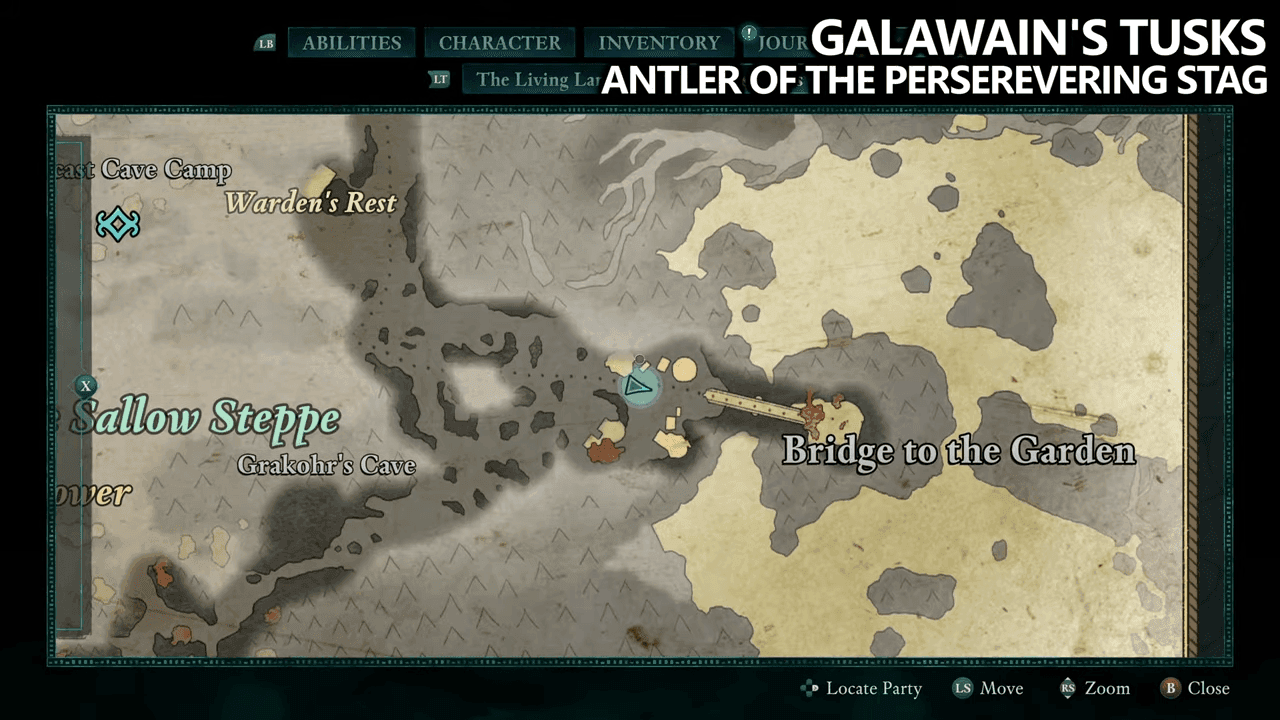
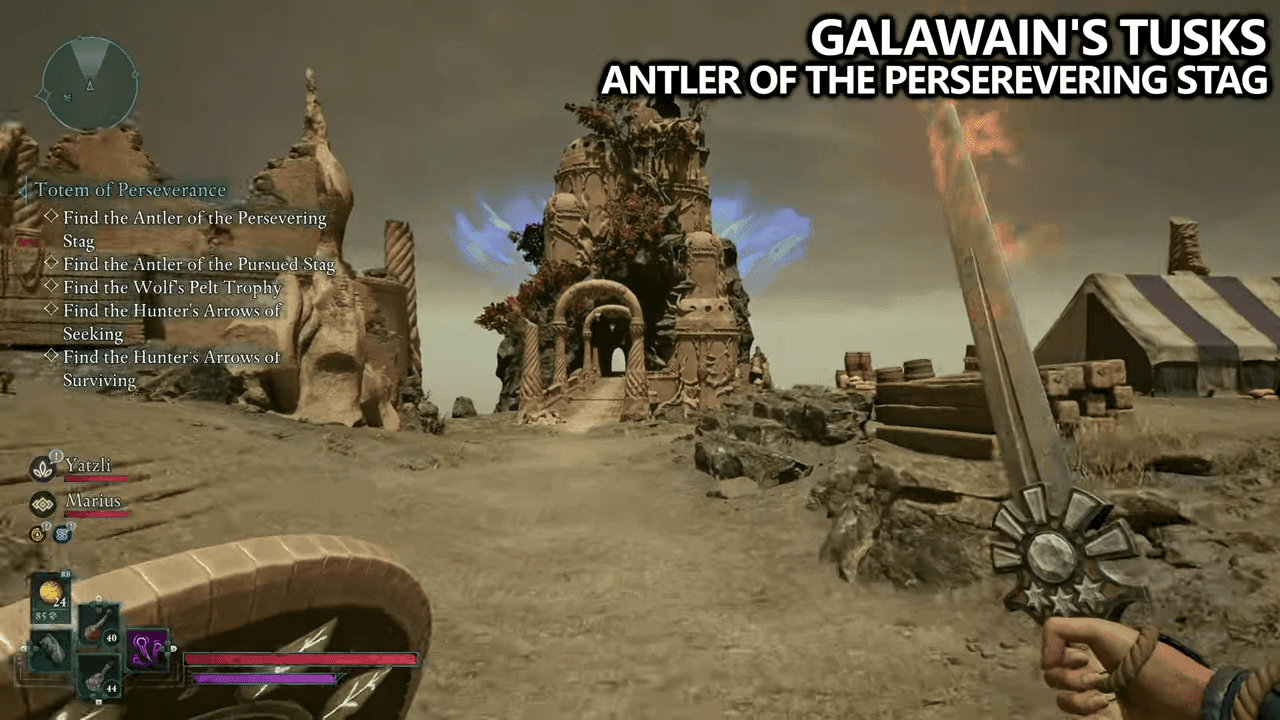
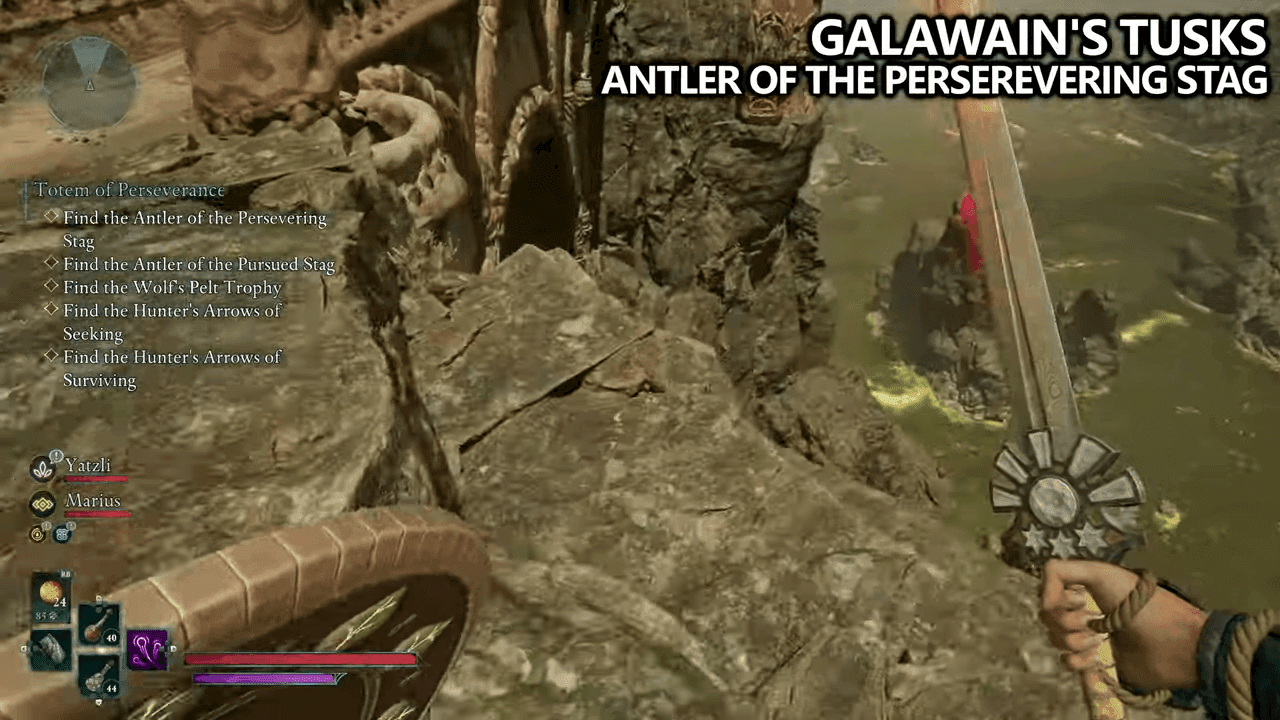
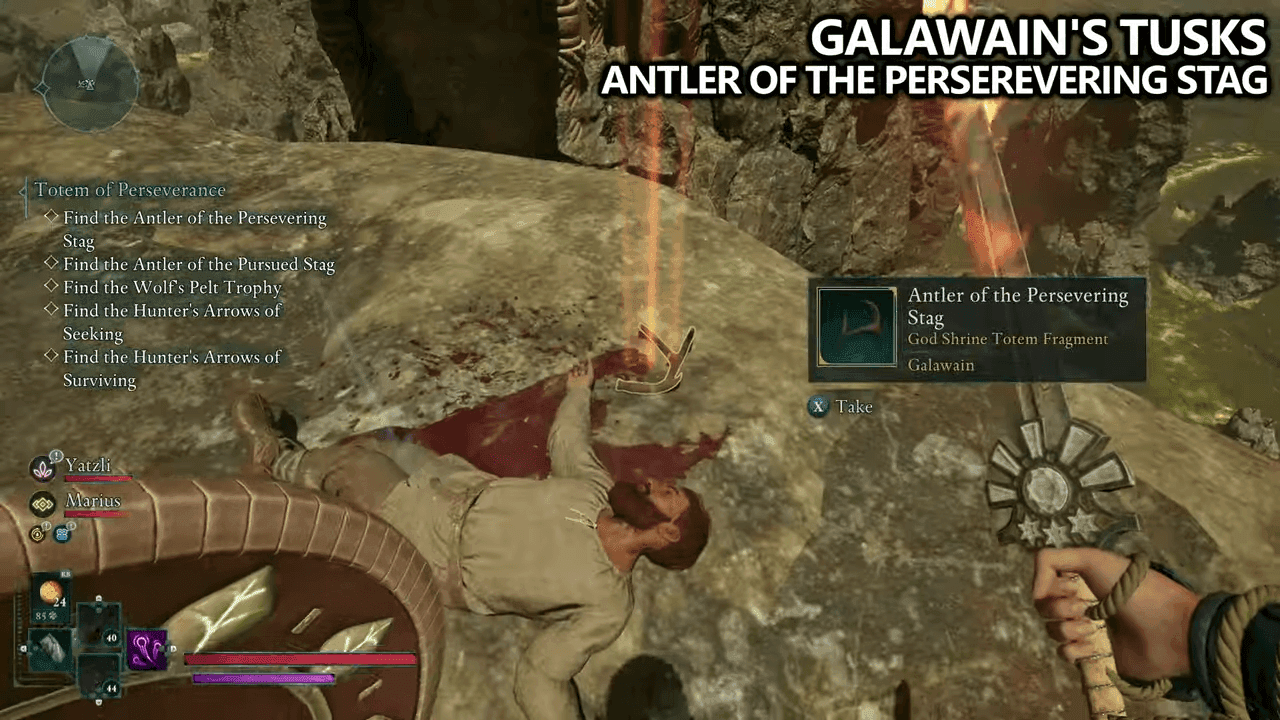
One of the easier fragments to find is near the bridge to the garden. This is an area you will visit early in this region. Instead of crossing the bridge, drop to find the collectible underneath.
Hunter’s Arrows of Slaying Totem Fragment Location
The next fragment is in Slumbering Fields. If you’re completing the side quest to clear the aqueducts, you’ll naturally come across this location. There’s a fast travel point nearby. Head up the hill until you reach a fork in the road. Take the left path, and you’ll find an abandoned, overgrown tower. Climb up, and inside, you’ll find the Hunter’s Arrows of Slaying.
Antler of the Pursued Stag Totem Fragment Location
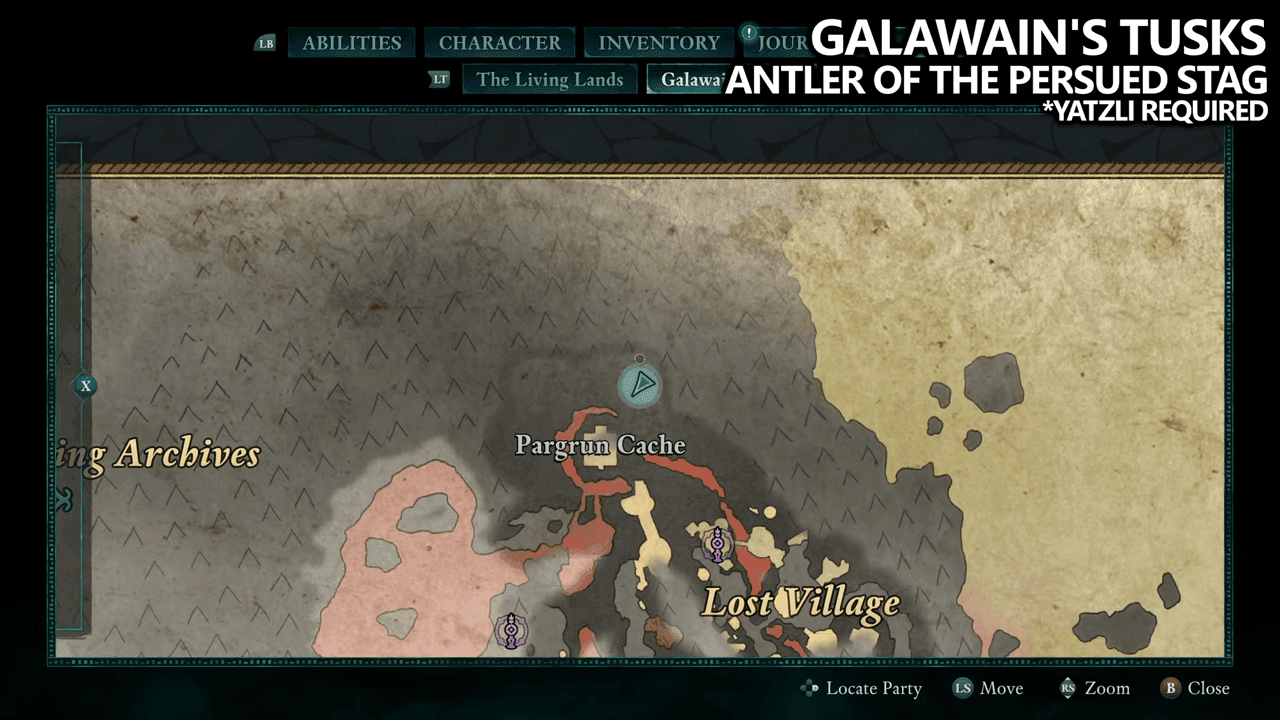
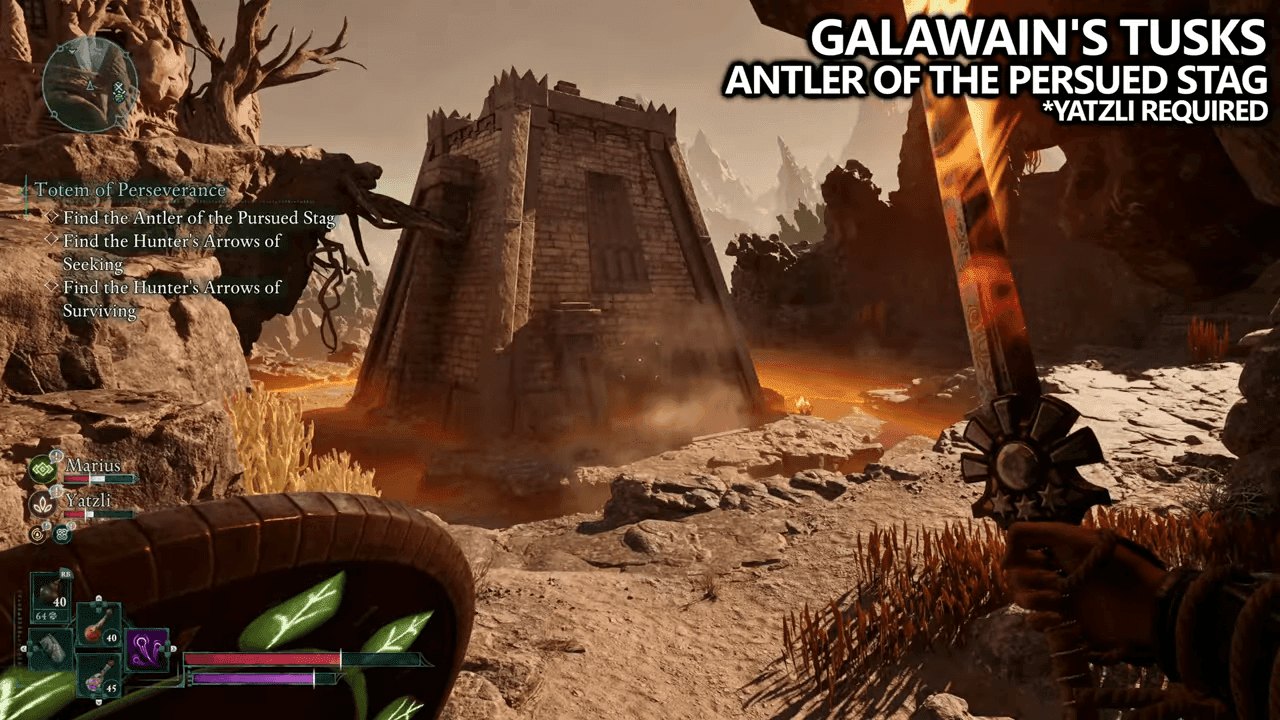
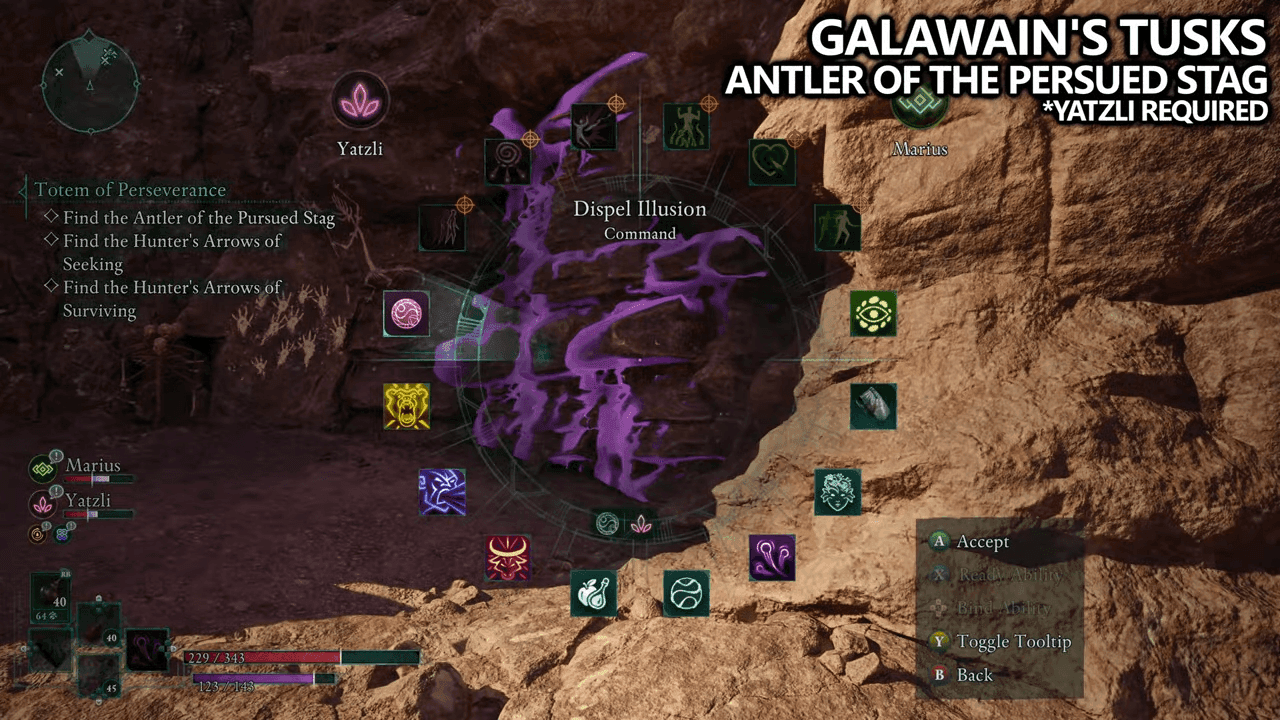
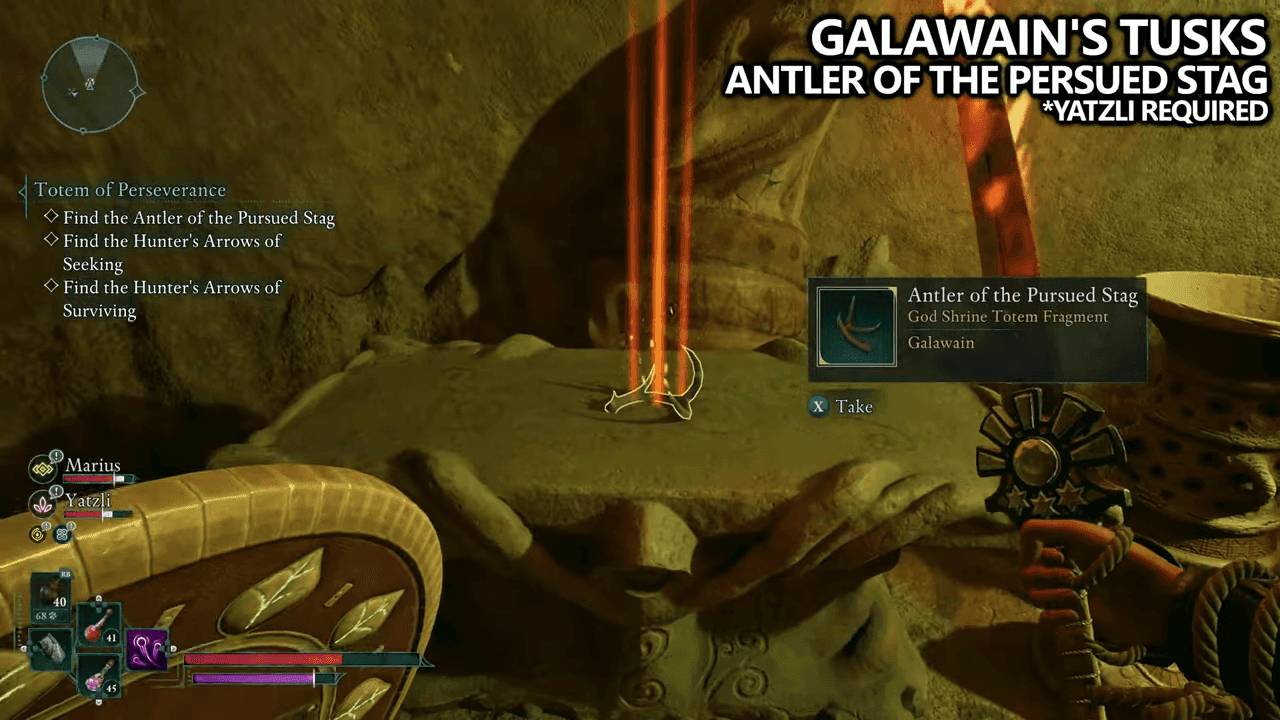
Travel to the top-right corner of the map, where you’ll find a cache after exiting a cave system. You must approach it from the back. Nearby, there’s an illusion-covered cave that requires Ylatzi as a companion to dispel the illusion. Alternatively, if you have a Grimoire with the necessary spell, you can enter. Inside, burn down the vines to uncover the Antler of the Pursued Stag.
Hunter’s Arrow of Surviving Totem Fragment Location
In the same top-right corner, return to the cave exit. Instead of heading to the cache, follow the cliff’s edge along the lava. This path leads to a tower overlooking the Lost Village. Inside the tower, you will find the Hunter’s Arrow of Surviving.
Wolf’s Pelt Trophy Totem Fragment Location
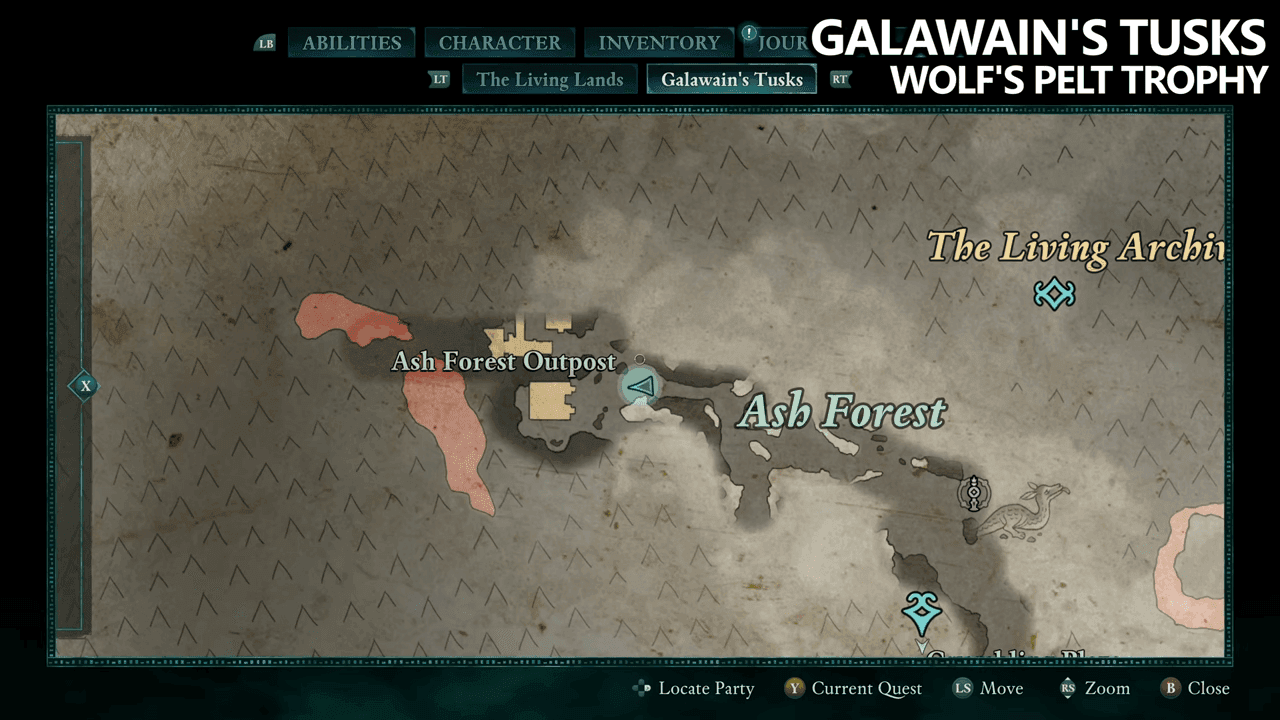
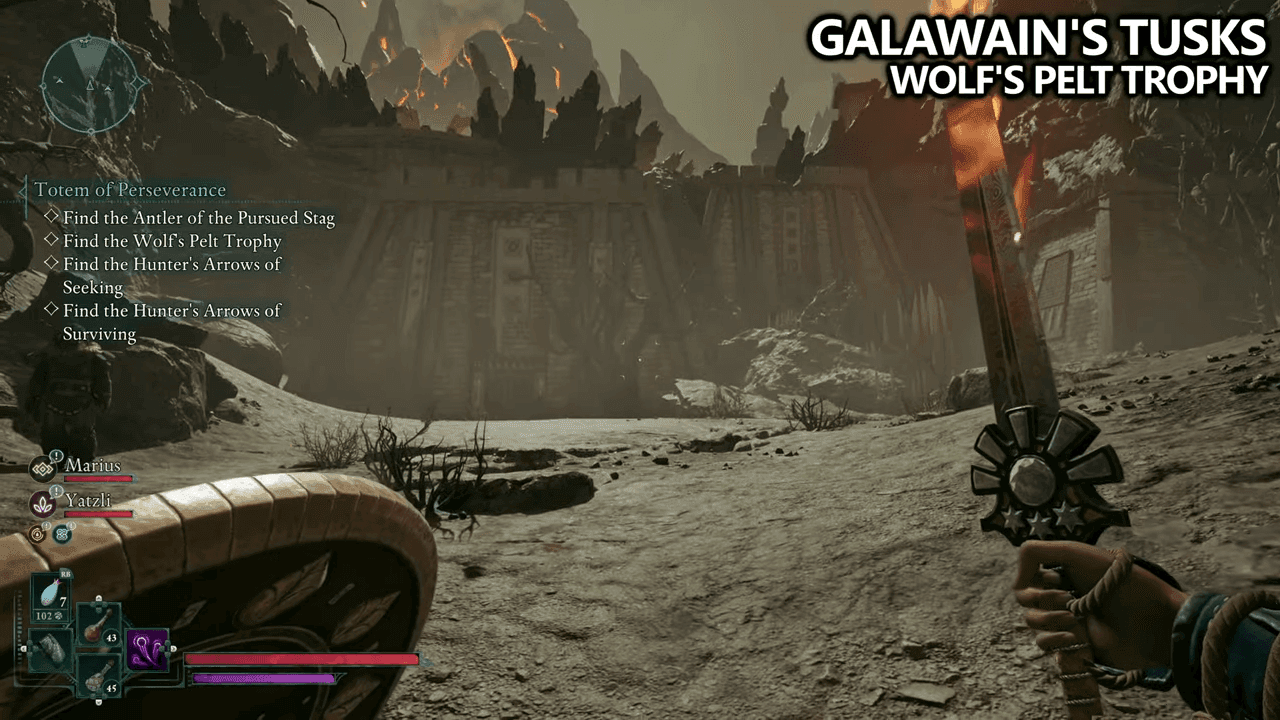
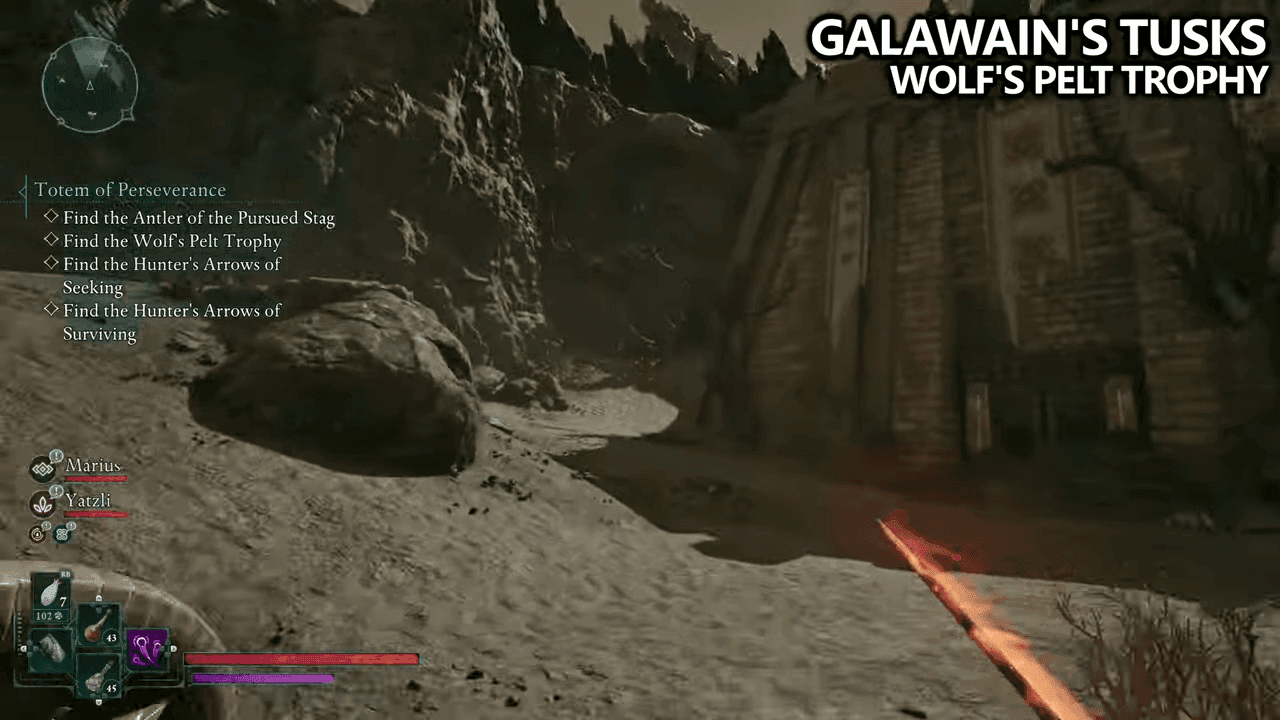
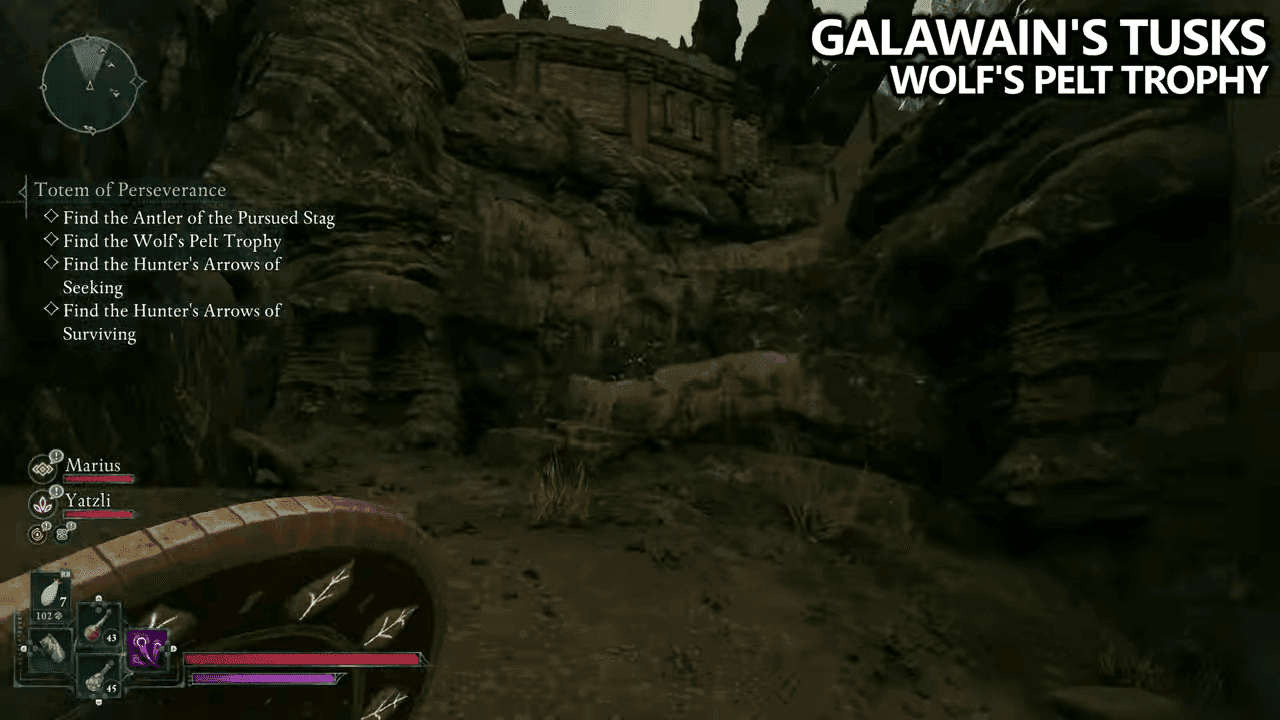
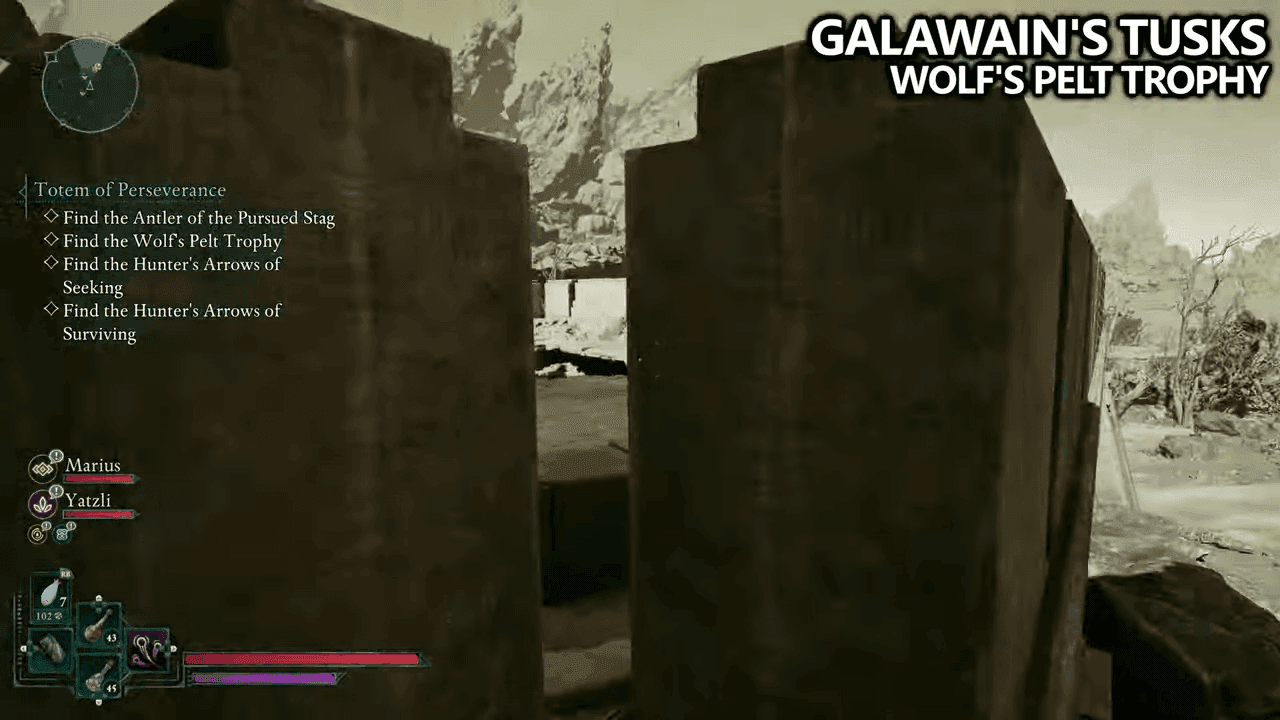
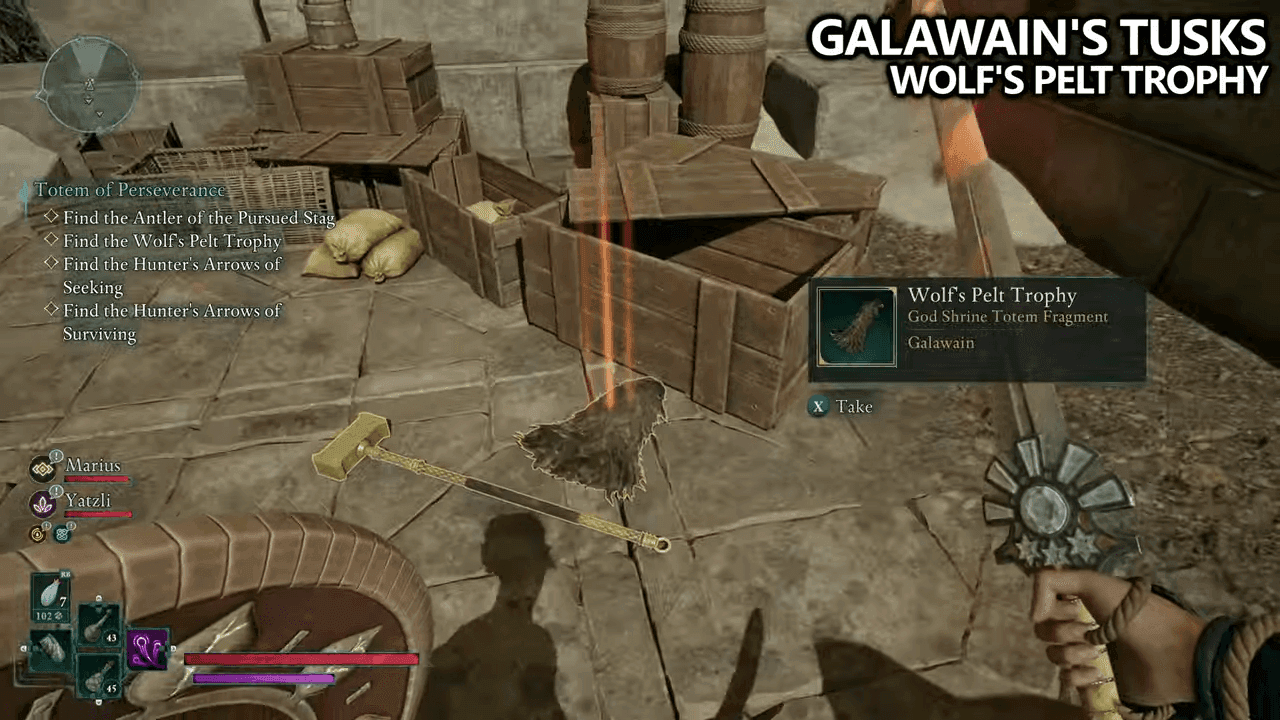
The Ash Forest Outpost is located in the top-left corner of the map. You will visit this location as part of the main quest or some side quests. Instead of following the main path to the right, look for two buildings. Scale the cliffs near the leftmost building to reach the rooftop. Drop into the building to collect various loot, and on the roof, you’ll find the Wolf’s Pelt Trophy.
Hunter’s Arrows of Seeking Totem Fragment Location
The final fragment is found on Mount Forja, accessible via the mines. This area is part of a major main story battle. After completing the fight, instead of progressing with the story, take the right-hand path along the cliff’s edge. There, you’ll find the Hunter’s Arrows of Seeking.
Assembling and Activating the Hunstermaster’s Spoils Totem
Once you have the totem core and all six fragments, return to your party camp to assemble the Galawain’s Tusks Totem. Be sure to activate the totem to benefit from its buffs.
With the Galawain’s Tusks Totem fully assembled, you’re now equipped with powerful buffs that will aid you in your journey through the lands of Eora in Avowed.
